Another RV upgrade we recently made was installing a swiveling TV mount for Rover’s main TV. We’re lucky that the living room TV in the Allegro 36LA is directly opposite the sofa, which is a much better placement than in most other RVs we’ve seen. Take a look at many RV floor plans and you’ll see that their TVs are next to the sofa instead of opposite it, and we’ve heard plenty of RVers complain about stiff necks from watching TV while looking 90° to the left (or right) the whole time.
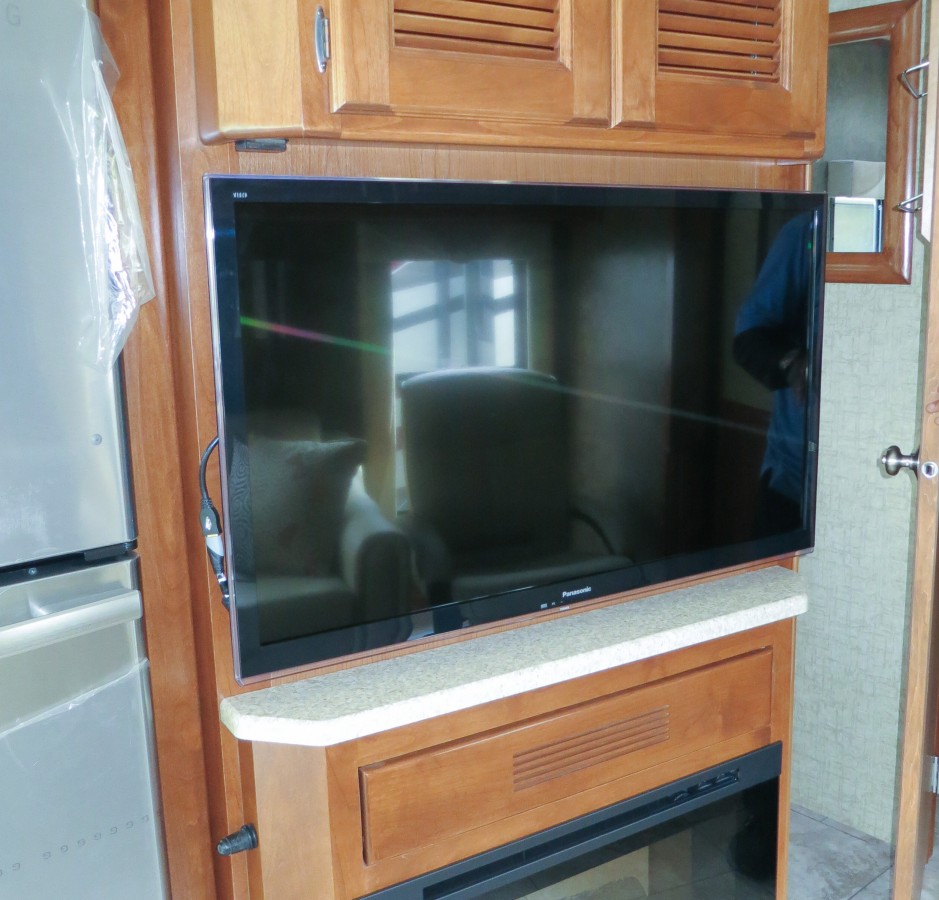
Although the placement is great if you’re on the sofa, we find that we do a lot of “casual” TV watching (i.e. repeats of old favorite TV shows) from our dining table or while standing and cooking. From these locations, the TV is hard or impossible to see, so I looked into replacing the TV mounting bracket with one that could rotate and swivel. Below is the standard TV mounted on the wall next to the refrigerator:
For our install, I chose the Cheetah Articulating Arm TV Wall Mount for 23″ to 49″ TVs. It’s only $29 on Amazon which concerned me at first… could something so inexpensive be relied on? With over 4,000 positive reviews on Amazon though, it seemed like a reasonable bet.
Installing the new mount
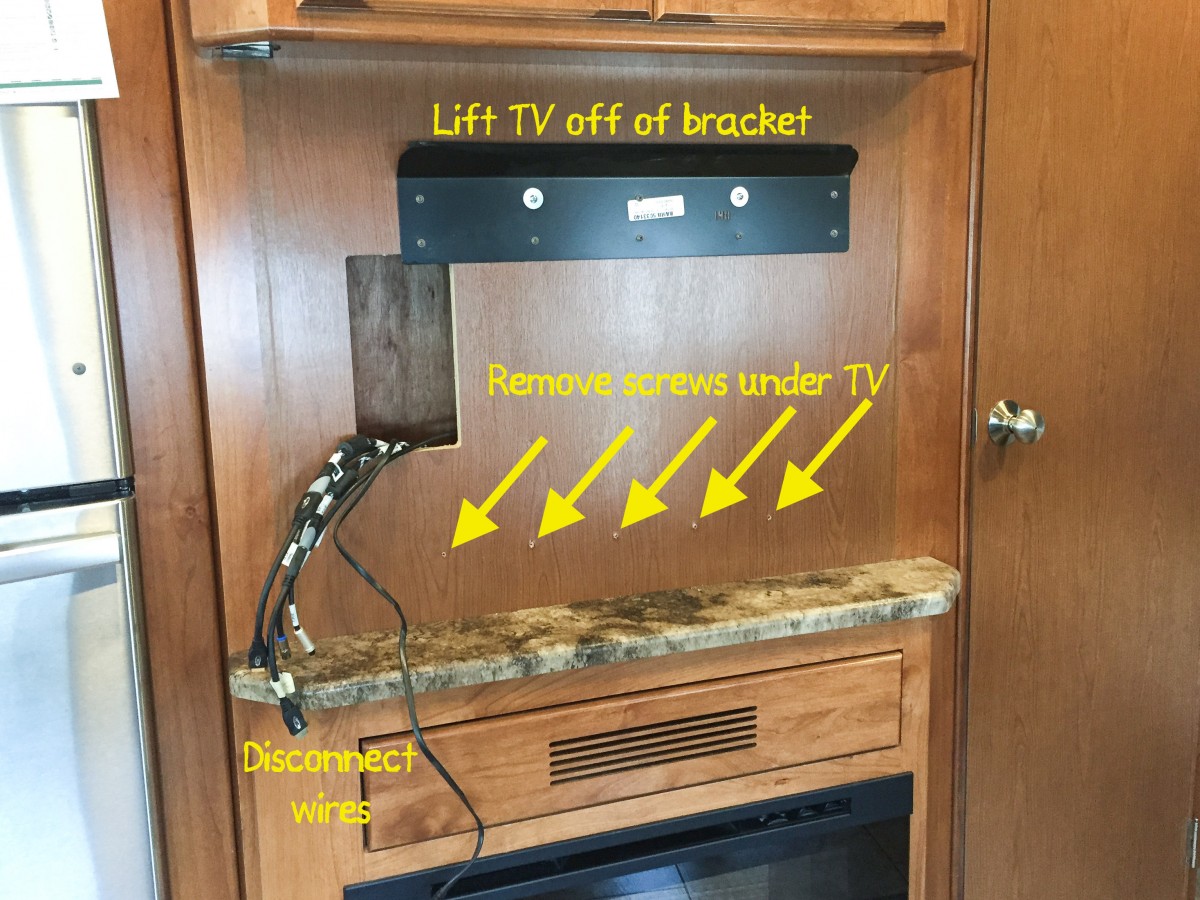
To install the new mount, I first need to remove the TV from the wall and remove the old mount. The TV’s weight actually rests on a metal frame bolted to the wall, while a row of screws along the bottom of the TV hold it in place. To remove the TV, those screws need to be removed and then the TV can be lifted vertically off the bracket, as in the photo below:
When removing the HDMI, cable TV, digital audio, and power cords from the TV, I need to be careful not to let them slip down behind the wall! It would be very difficult to retrieve them if they fell in.
After the TV is removed from the wall, I can remove the existing wall mount from the wall. The bracket is secured using bolts and nuts, so I need to reach through the opening in the wall with a wrench to hold onto the nut and washer inside the wall, while unscrewing the bolt from outside. I fortunately have a helper, which makes the job much easier than it would have been alone!
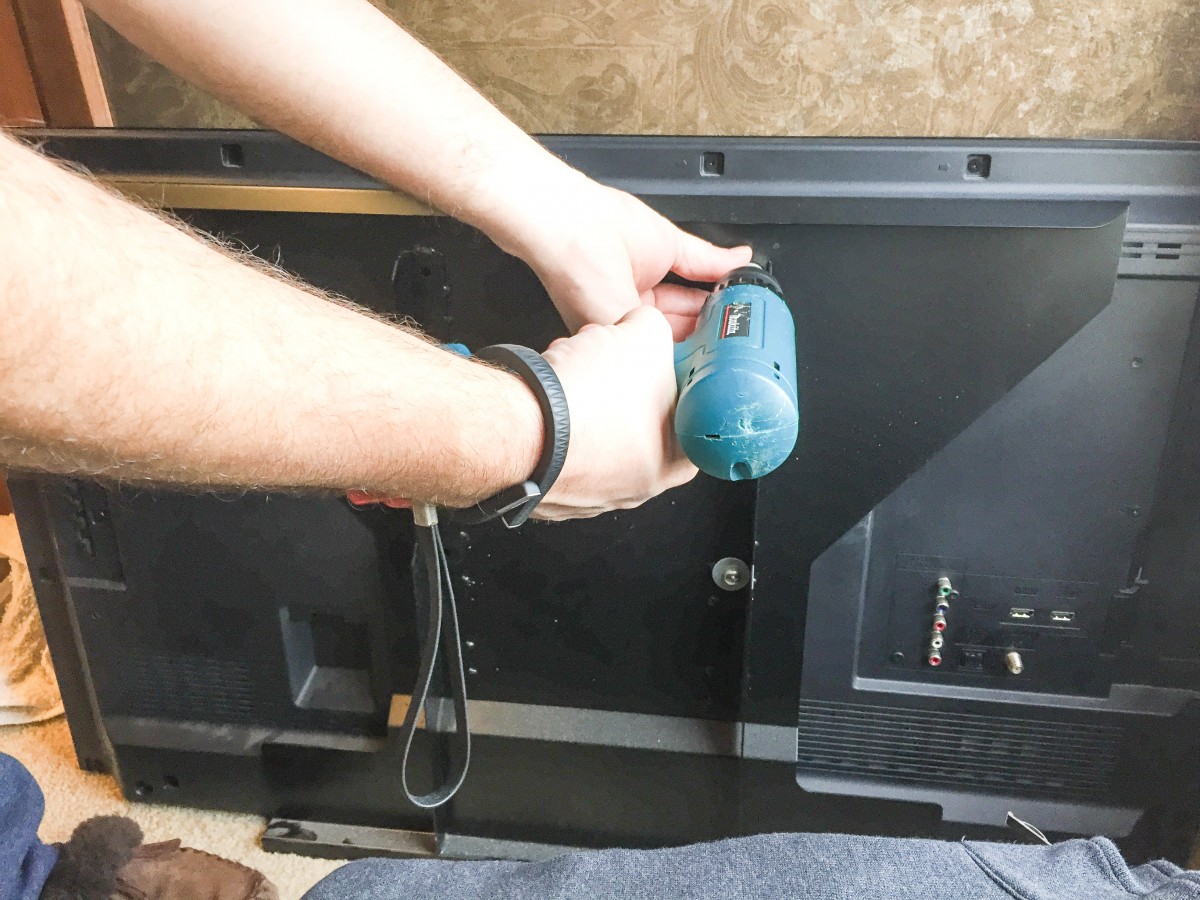
After the wall bracket is removed, my helper removes the rest of the original mount from the back of the TV (the part that hangs on the wall bracket). This is a simple matter of unscrewing the bracket from the TV. Important: the four bolts holding the bracket to the TV are sized specifically for this TV, so I save them to use with the new bracket later.
Mounting the new bracket on the wall is a simple matter of screwing the provided wood screws into the wall. The hard part is determining exactly where they go! My first time through I measure the exact center of the wall, left to right. Before actually screwing the bracket in place though, I try temporarily mounting the TV to the bracket and holding it in place on the wall to get a “test fit” visual. It’s then that I realize I missed a comment in the bracket’s instructions that explains how the TV is 4cm offset from the center of the mount, due to the way the articulating arms fold together! Moving the bracket 4cm off center provides a perfect fit for the TV, so I remove the TV from the bracket and start drilling.
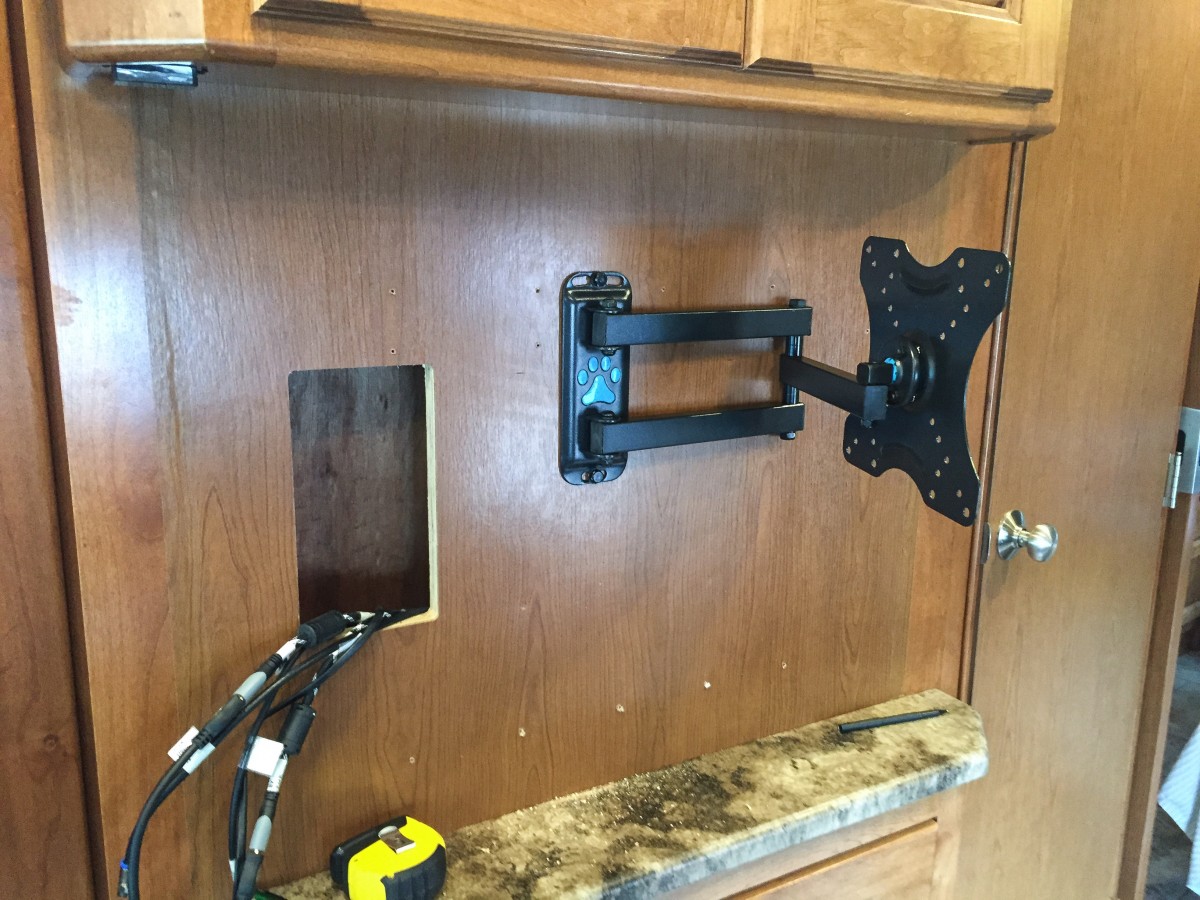
Once the bracket is mounted, it looks like the following:
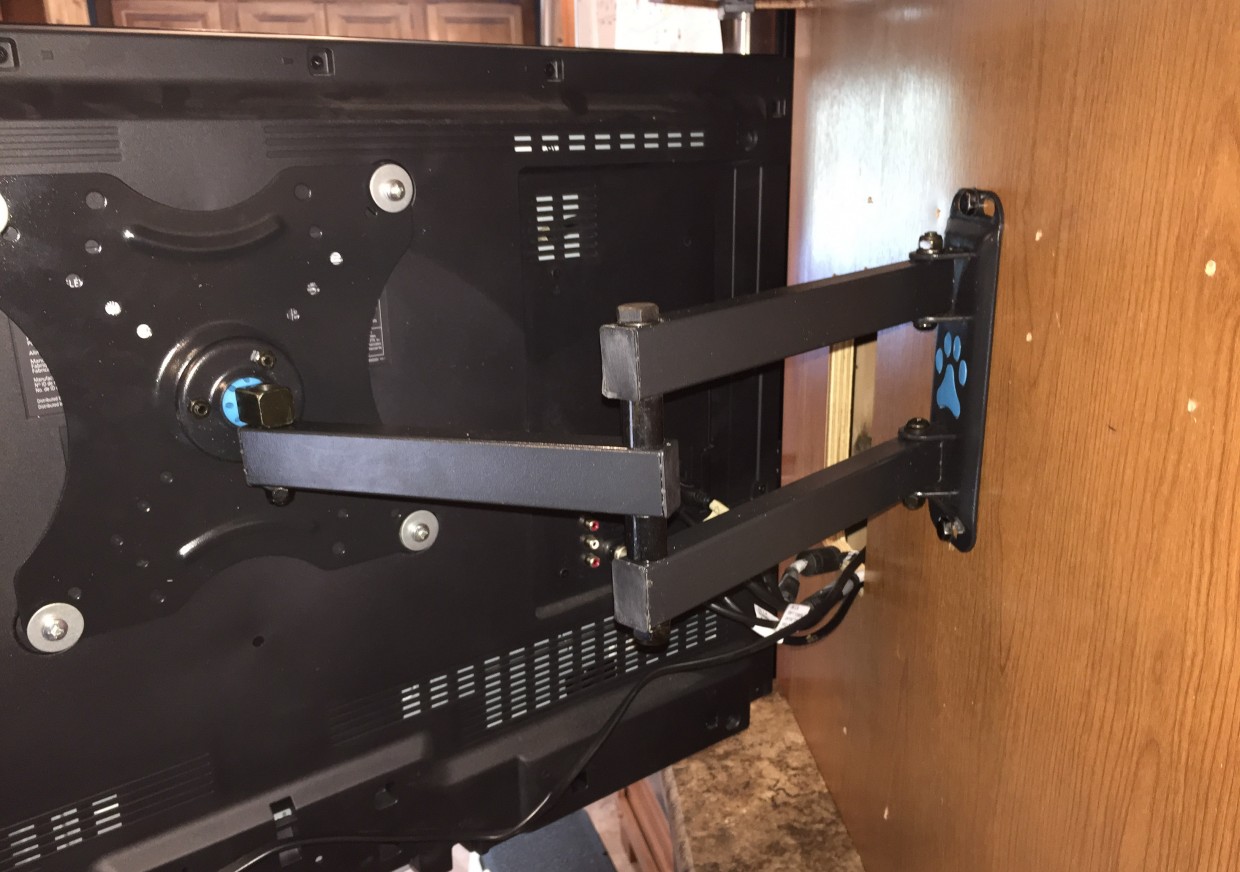
The last step is to have my helper hold the TV in place while I bolt it to the bracket using the four bolts removed from the original TV bracket. All of the Cheetah mount’s pivot points can be tightened or loosened as desired. I made them a bit tighter in order to prevent the TV from swinging out while we’re driving.
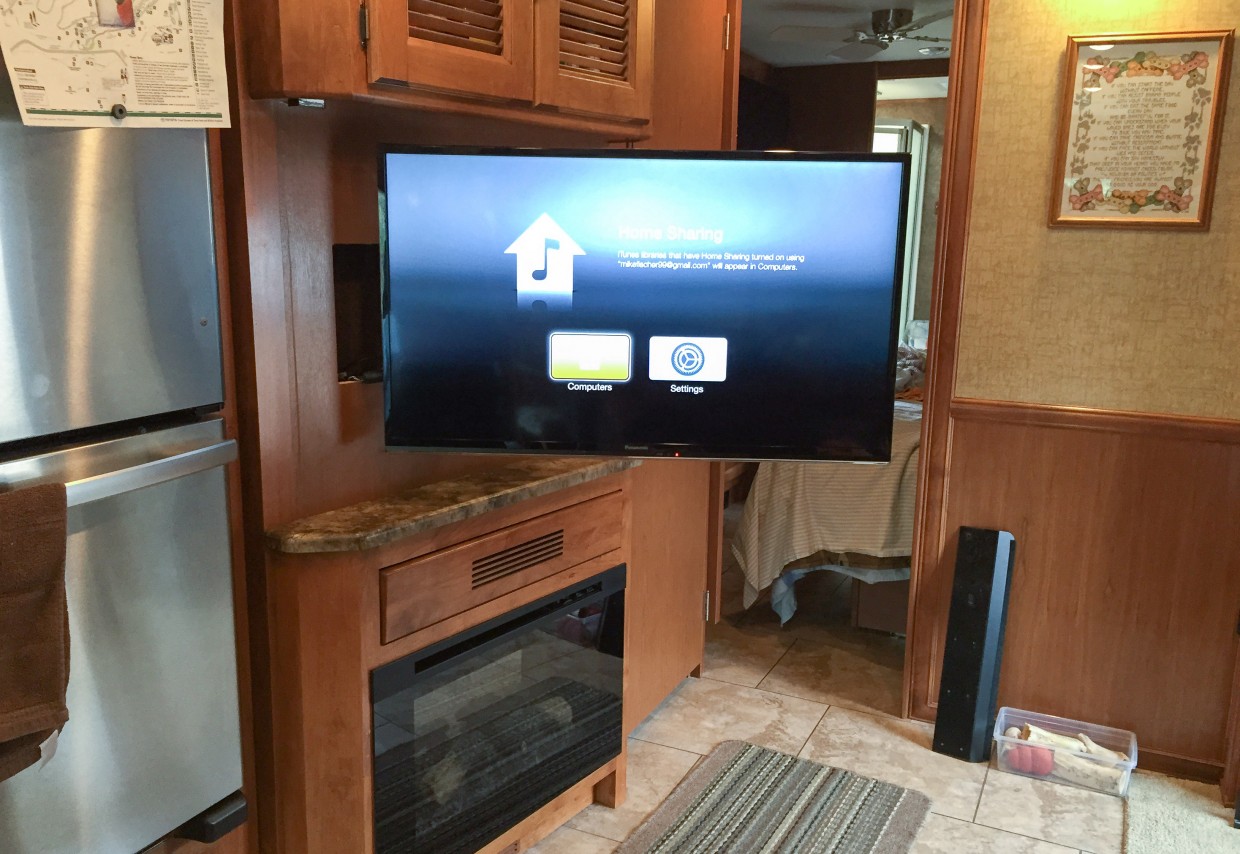
The final result is exactly what we wanted! The TV not only pivots, it can also be pulled fairly far away from the wall making it easily visible from the whole front half of the coach:
One thing we quickly discovered after the install is that when rotating the TV away from the wall, the HDMI cables have a tendency to pull out of the back of the TV. To prevent this, and especially to prevent them from falling down behind the wall, I used a few zip ties around all the wires, bundling them together. Since the coax TV cable is securely screwed into the back of the TV, this keeps all the other wires attached as well.
Considering how inexpensive and relatively easy this upgrade was, we’re quite happy with the result!


I’ve been looking at floor plans to get ideas for our next RV and noticed the TV to the side and wondered about the stiff neck thing. This post confirms that idea so I’ll add that to my list. Nice job on the mounting!
I wonder if you could use velcro between the arm & wall; and between the arm & back of the TV to help provide some holding power when the TV is in the recessed position. It’s has to tell if the arm lays flat enough against the wall/TV to allow for the velcro to make contact.
No, there’s a decent gap there. So far it hasn’t been a problem, even with some sharp turns.
Great job Mike.I will ordering this mount also thank you for your response on my post on Irv2.
I mike,
I have just gotten around to putting the swivel mount on the tv and I had to change the entire way you had yours.I didn’t realize the back of my tv was different than yours.I had to put the wings on the brackets because the mounting holes were a lot future apart than yours.A lesson learned but,I got it mounted and ready to go.Thank you for your help.Safe travels.
Glad you got it figured out! One other suggestion… we’ve found that over time with lots of driving, some of the bolts/screws that allow the TV to be adjusted start loosening and the TV get “wobbly”. We recently put some Loctite on the bolts and re-attached them to keep things more secure. -Mike