
Today we finally installed something we’ve been wanting for close to a year: a propane accessory “Tee” adapter and hose. Now that it’s done, we wish we hadn’t waited so long!

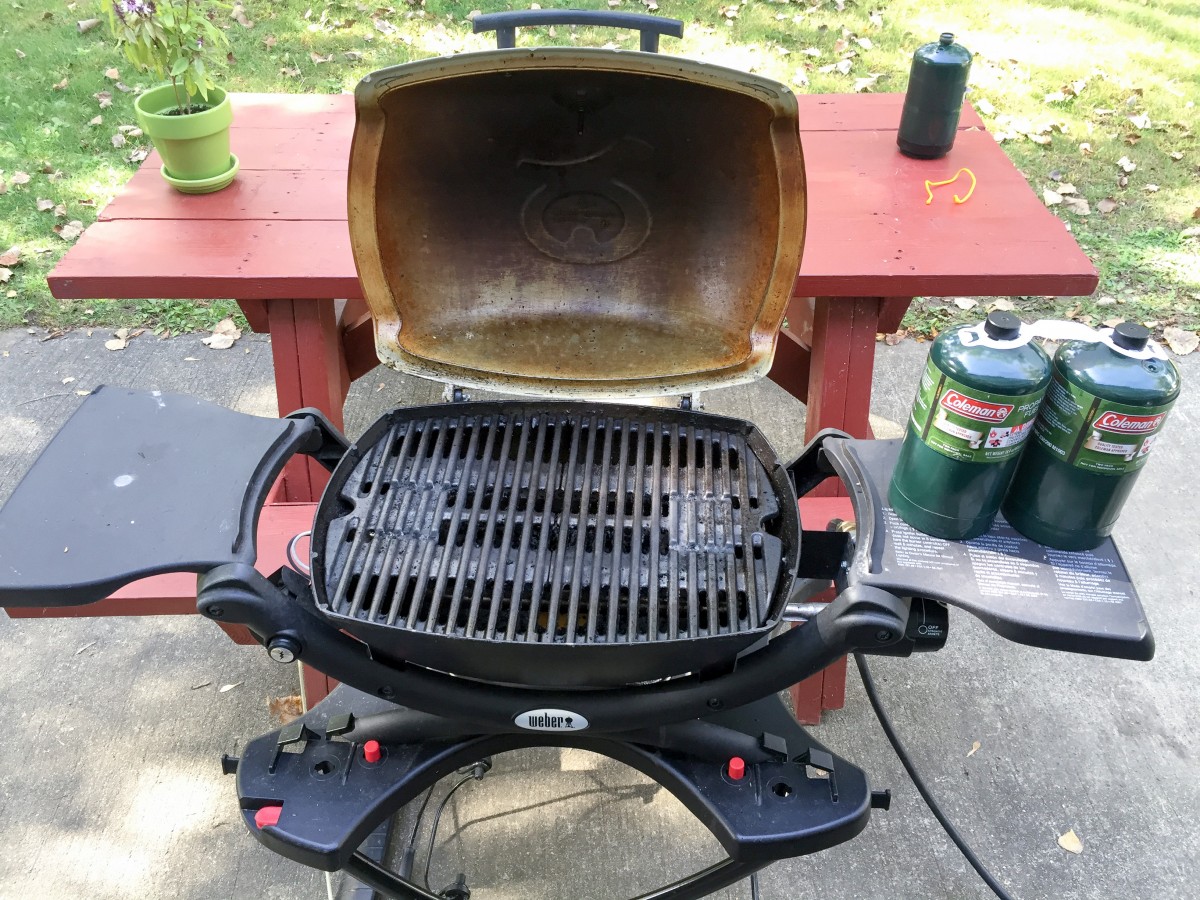
16 oz. propane tanks
Up until now, our portable Weber grill relied on 16 oz. disposable propane cylinders (pictured above). While these were relatively inexpensive (around $6 for a 2-pack) we felt horrible throwing the empty cylinders in the trash all the time. Our goal was to run our BBQ grill from the large propane tank built into Rover… the same tank that runs the furnace, water heater, and stove (although in reality we rarely use propane for heat or hot water since we also have electric heat and hot water capabilities).

Camco propane tee and hose kit
We ordered a Camco propane “tee” connector and hose for less than $60 and installing it was a breeze. A “tee” is a splitter… gas enters one connection, and exits through two different connections, one for the RV and one for the grill.
There are a few different models and it’s often not clear which one does what. This one is for high pressure gas, and installs before the propane regulator on the motorhome. There are others that use low pressure and go after the regulator. Some let you hook up a second large propane tank to the RV so you can run your heater, stove, and water heater without having to drive the RV to a propane refill station.

Propane regulator cover
Of course the very first step is to turn off the propane via the knob on the tank! After that I removed the plastic cover (pictured above) over the motorhome’s propane regulator. It was held in place by two plastic pins, so removal was trivial.

Propane regulator is now exposed
Once removed, the regulator is accessible (pictured above). Its purpose is to control the flow of propane from the tank into the motorhome by lowering the pressure to the amount needed by the furnace, water heater, and stove. The Weber grill has its own regulator and needs high pressure gas, which is why we’re installing the tee before the RV regulator.

Tee connector installed between tank and regulator
Using a wrench and turning clockwise (backwards from a normal connection) I unscrewed the regulator from the propane on/off knob. The existing connection had an arrow indicating which direction to turn to tighten, so it was easy to tell that it was reverse threaded.
The tee connector was inserted between the two existing connectors (on/off knob and regulator) and both ends were screwed back on and tightened (pictured above). To test for leaks I sprayed some dishwashing foam around the connections and turned on the gas. No bubbles means no leaks! We also tested the cooktop inside the RV and it was still working fine.

12 foot accessory hose connected
The last step before grilling could begin was to hook up the included 12-foot accessory hose. One end screws onto the “spare” port on the tee adapter (shown above). I also re-installed the regulator cover (not pictured here). Since the regulator is further to the right than before, the plastic pins no longer line up with the holes, so I used cable zip ties to secure the cover.

Hose connected to BBQ grill
The other end of the hose screws onto the grill’s regulator (pictured above), exactly where the 16 oz. bottles used to screw in. Another quick test confirmed that the grill was working as expected.

Let’s get cookin’!
We’re now ready to start grilling and stop filling landfills with empty propane canisters! The installation was much faster than I expected, maybe 15–20 minutes total. If you’re interested in picking one up for your RV, here’s a link to the one we bought:
Amazon Link: http://amzn.to/1O1n7VC

Installed on on our motorhome 6 months ago , works great we also seem to get a better flame with our weber.
Hi Mike, Love the idea about cutting down on the cans ending up in the landfill! Would love to order one but your supplied link isn’t working.
BTW I went to the Allegro Club rally in Sevierville TN this past week, had a great time. Went down with 5 other coaches from our club. Ended up buying a new ride, the RED 38 QRA. We just broke camp and are heading back to NY……slowly…….Initial report…….I love it!
Hope you guys are doing well and I’m so sorry about Max.
Hmm, the Amazon link seems to work on my laptop, but it doesn’t show up on my iPad. I’ll play around with it and put in a regular link for now. Thanks! This is the one that we bought: http://amzn.to/1O1n7VC … hopefully that link works.
Wow, enjoy the RED! We’ve never driven in a diesel rig, and hopefully it’ll stay that way (for a while at least). We hear that once you try it, you won’t want a gas coach any more!
Could this location also be an extend a stay 4 way tee?