
After our week at the beach we relocated to Sweetwater Summit Regional Park, about 30 minutes from Mission Bay. Apart from taking Opie back to various beaches every few days our original plan was to relax and catch up on some maintenance. Alas, that was not to be! Instead we dealt with multiple unexpected RV repairs, including a plumbing problem right after we arrived.

Source of the water leak.
After pulling into our site, we went to hook up our water and saw that the wet bay was flooded with water dripping from one of the PEX connections at a plastic elbow (photo, above). Due to the positioning of the blue pipe, the elbow has been under constant stress and could finally no longer hold a proper seal. We’d need to cut out the bad section and replace it, while relieving the stress.
After searching Lowes and Home Depot and not finding much of a PEX selection to choose from, we bought a pipe cutter, a one-foot PEX “push-to-fit” flexible pipe, and a push-to-fit removal tool.

PEX piping repair supplies.
The PEX pipes are clamped onto the elbow with copper crimp rings that require a special (expensive) tool to remove, so we just used the pipe cutter to removed the bad section entirely:

Bad elbow section removed with pipe cutter.
Attaching the new flexible pipe in place of the elbow was simple. There are quite a few different types of PEX connectors, and the “push-to-fit” we bought just gets pushed over the end of the PEX pipe and the connection is made! Pulling back only tightens it… you need a special removal tool to disconnect the pipe in the future. We wrapped one end with a blue paper towel to check for leaks. After 12 hours with no leaks, we considered the new flexible hose to be a success. The finished product (photo, below) is working perfectly.

New flexible pipe section installed in place of elbow.
A few days later while up on Rover’s roof we noticed that where the fiberglass roof meets the passenger’s side wall, the paint was bubbling, peeling, and in some places badly deteriorated (photo, below). We did quite a bit of research online, and took a look at our photos from when Rover was built, and came up with a repair plan.

Caulk and paint peeling where the RV side wall meets the roof.
The deteriorated paint is along a metal strip (which also acts as a rain gutter) covering where the two sections of fiberglass meet up, and extends the length of the RV. The metal strip was glued on with adhesive, screwed into place, painted and caulk was used on top. The paint began bubbling away from the adhesive and over time the weather caused the paint to dry and crack away from the fiberglass.
Using a screwdriver and knife we scraped off as much of the cracked and bubbled paint as possible (left side of photo, below). Since we had to remove the paint, we couldn’t use clear silicone due to the visible white fiberglass. Instead,we purchased some black Permatex silicone adhesive sealant at a local auto parts store and installed a bead of the new silicone sealant (right side of photo). It looks great and so far seems to be working well. Unfortunately the driver’s side of Rover is showing the same symptoms of bubbling paint (silicone caulk is healthy) but the paint hasn’t dried and cracked yet. We’ll need to keep an eye on it and repeat the same routine once we start seeing problems.

Paint and caulk stripped off, new sealant installed.
The next problem we ran into was ANTS! We had read several reviews of this campground before reserving, and some had cautioned about ants, but others said it wasn’t a problem. Maybe it depends on the time of year, but in any case we had ants all over our site and eventually they started making their way inside. Yuck! To get a feel for how many ants live in the camp sites, here’s a photo of our water post one morning:

Ants, ants, ants on the water pedestal.
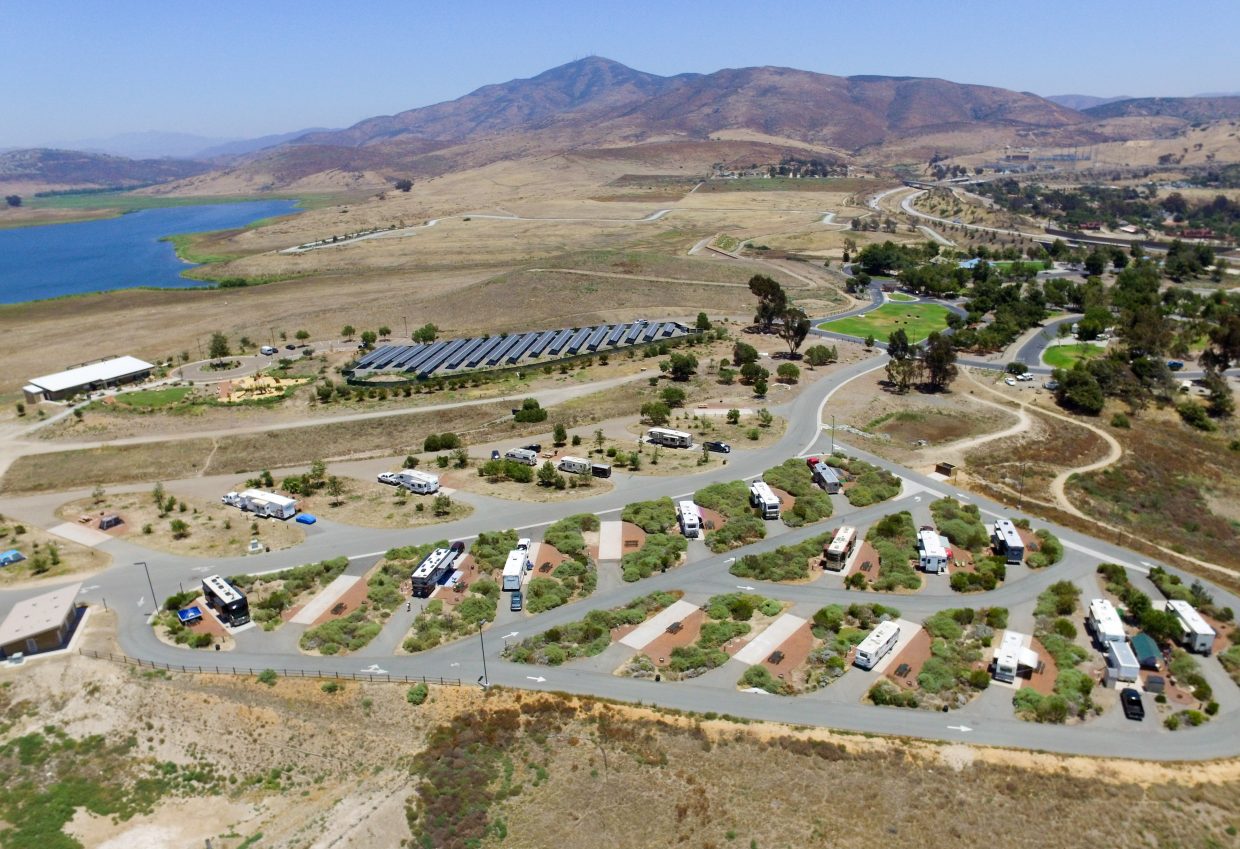
To keep the ants out we purchased food-grade diatomaceous earth and sprinkled it around every part of the RV that touched the ground. The powder stops ants and prevents them from building trails across the line. There were quite a few other RVs that already had white outlines around their tires, jacks, etc. so we joined the club. It was a constant battle (both inside and out) and made us question whether or not we’d return to this otherwise nice campground (drone photo, top of page).

Diatomaceous Earth sprinkled around everything that touches the ground.
After many more trips to the dog beach we left the wonderful San Diego weather and headed back to Yuma to complete Kathie’s dental work. The temperature in Yuma, as expected, was around 115°F during the day and in the high 80’s at night. The weather made it a pretty unpleasant week, especially for Opie, so we won’t dwell on it here! Saying good-bye to Yuma we started day one of our two-day trip to Colorado.

Temperatures dropped quickly once we got close to Flagstaff.
Most of our seven-hour drive north was incredibly hot, but once we were well north of Phoenix and approaching Flagstaff the outside temperatures finally started dropping. The photo above is a screenshot of a weather app showing the current temperatures during our drive. The black line is our route north on I-17. From Camp Verde to Flagstaff (around 50 miles) the temperature dropped from 113° to around 70°! We could finally turn off the air conditioners and open some windows. Flagstaff’s high altitude makes it a pleasant oasis during hot Arizona summers.
Unfortunately, during the drive our kitchen countertop came apart! The back half of the recessed propane cooktop separated from the main countertop:

Before: recessed cooktop separated from main countertop.
We had seen a small gap in the back for a while, but during our drive it separated completely. We noticed it during our lunch stop so we removed the cabinet drawers and propped up the cooktop with a cardboard box for the rest of the drive. Once in Flagstaff we took a closer look and found that the recessed counter was glued to the bottom of the main counter, with nothing else supporting it underneath. Once in Flagstaff we headed right out to Home Depot to get some supplies: a 1×2 board, screws, and some epoxy.

Repair: wood support blocks installed.
We scraped off all the remaining glue, cleaned the area, and used epoxy to re-glue the countertop into place. We also cut some small blocks out of the 1×2 board and screwed them into existing support posts under the cooktop. The cooktop now rests on these new wood blocks (one on each side) in addition to being glued back in place, so hopefully this problem is solved permanently. The final product looks as good as new:

After: countertop glued in place with support blocks.
With our emergency repair complete, we finally relaxed after our long drive, and prepared for the rest of our drive to Colorado the next day.
Every RV’er knows that minor repairs are pretty much a constant, especially when living full-time in the RV and driving to new locations frequently. Every time we drive, it’s as if our house is in a five-hour long earthquake, and some things eventually go wrong. We’re glad that almost every problem we’ve had so far has been relatively minor, and that we’ve been able to fix them ourselves. It’s reassuring to see that our handyman skills are getting better all the time!
Enjoy our blog? You can support us by making your Amazon purchases through our Amazon affiliate link—we’ll get a small reward to use towards our fuel and other purchases. Or, check out our list of RV gear we recommend. Thanks for your support!

Whenever I’ve been dismayed by the minor leaks, loosening of screws, etc. in our trailer, I remind myself of what we subject our home to, dragging it along all kinds of roads all over the country. (Still, leaks are annoying—especially the one that recurs under our kitchen sink no matter how many times Eric works on it.) You guys are mighty talented in the repair department! Looks like you’re able to fix all kinds of stuff, and do it well.
Thanks! We’re hoping to get a break from the repairs soon though. Fortunately most of the issues have been minor and the repairs have been pretty easy…
Whew,they all come in threes or fours, but with a talented handy man on board, your repairs are a piece of cake. I can’t believe the high temps you have to endure!
In Colorado, afternoon thunderstorms are your daily companion.
Kathie’s at least as handy as me, so between the two of us we’ve so far been able to tackle most of the problems that come our way!